

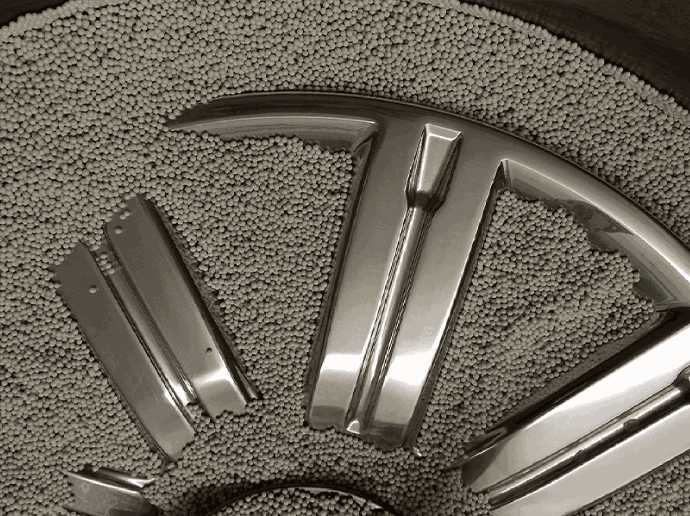
Ceramic Ball Polishing
Ceramic Polishing is a time intensive process with multiple stages to achieve the absolute highest quality results. Before the wheel gets near the polishing machines we need to totally strip it of any paint, lacquer and dirt back to bare aluminium and make sure that it is 100% clean. Then, by hand, we prepare the wheel, removing blemishes and rubbing down the entire surface.
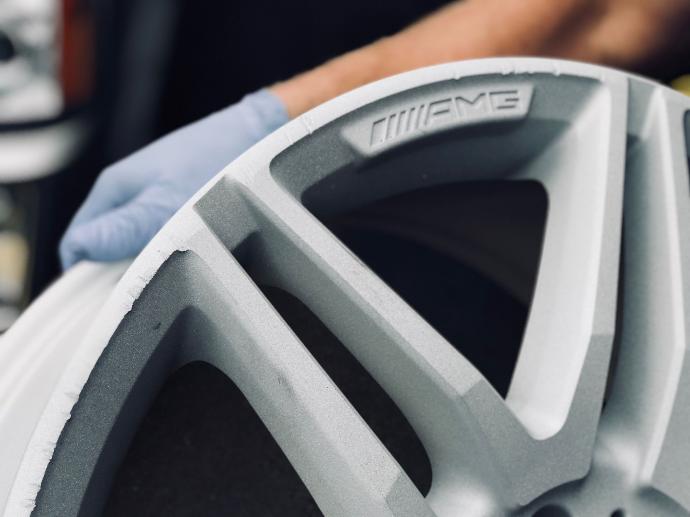
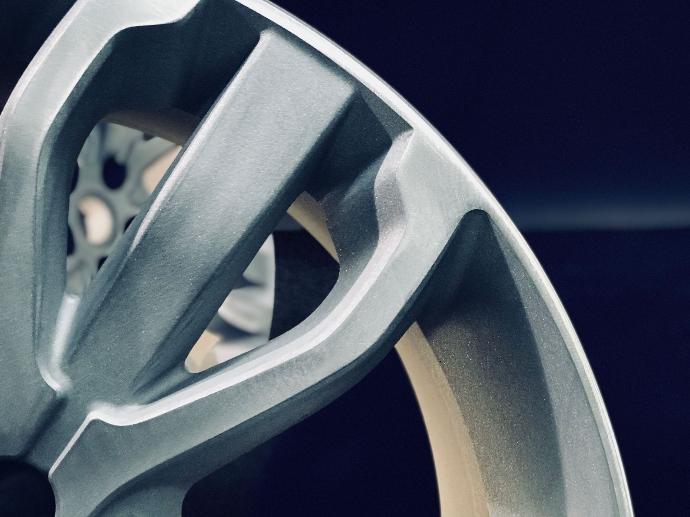
About the finish
The wheels are passed through varying levels of ceramic media which both prepare and subsequently polish surfaces to extremely high specifications. The first and second stages level out the roughness of the metal, achieving an extremely smooth base for polishing by opening up the pores of the metal. Finally, the wheel is polished to a very high finish which fully enhances and exentuates the design of the wheel.
Ceramic Ball Polishing - The Refurbishment Process
Step 1
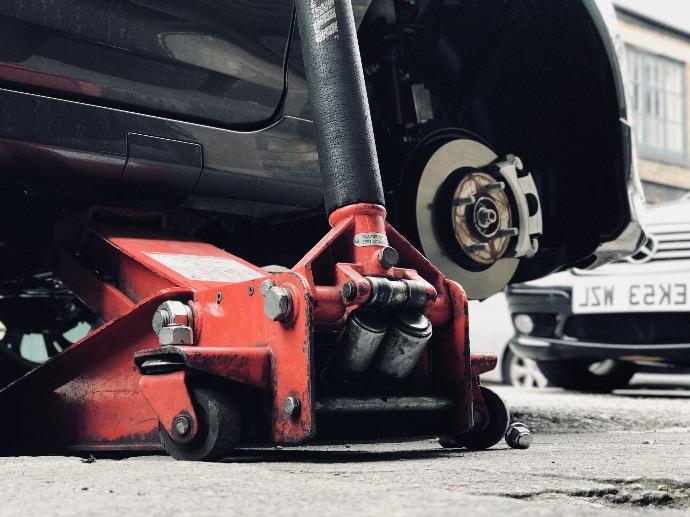
Removing the wheels from a vehicle
If we have the car on site it will be parked within our
secure premises for the duration of the repair. The other
option is that spare wheels are temporally fitted so that
the car can stay on the road.
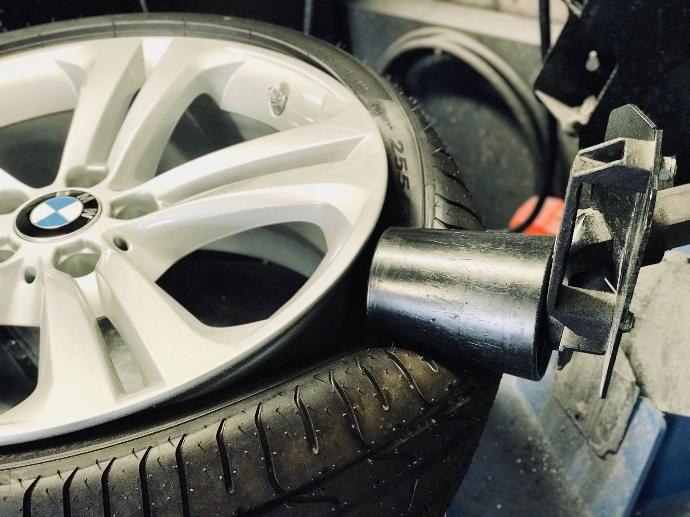
Step 2
Removing the tyres, weights & valves
The tyres are removed from the wheels and marked for
precision & rotation, and tagged with the customer's name.
We then remove all balance weights, valves & sensors
(if required).
Step 3
Stripping previous paintwork, grime & dirt
The wheel is then dipped in a special chemical solution
to strip away the existing finish and break all dust.
After a few hours, the entire wheel is fully stripped
back to bare aluminium.
Step 4
Shot blasting - further cleaning of the wheel
The wheel is then sandblasted in a special blasting
cabinet for more cleaning, corrosion removal and this
also prepares the surface.
Step 5
Wheel inspection
Once the wheel is fully cleaned it is much easier to
see if there are any cracks or structural damage. The
wheels are then tested on a balancing machine to check
for any bends or buckles. We will notify you if there
is any damage deemed to be dangerous.
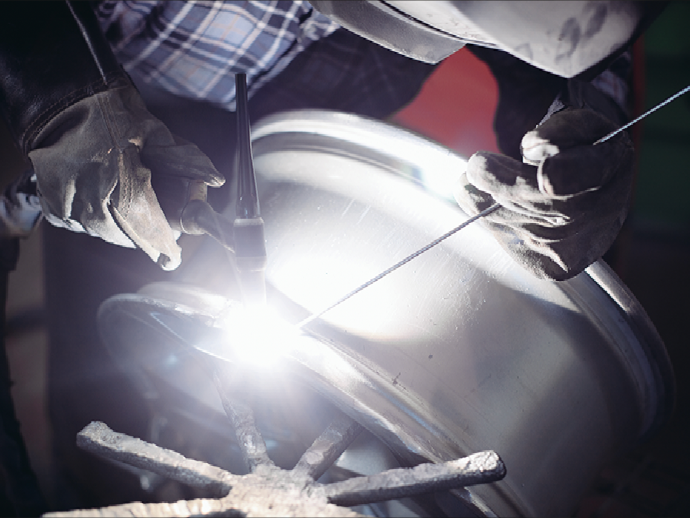
Step 6
Structural repairs - straightening, welding (if required)
We have advanced techniques in the straightening of bent,
buckled, dented or cracked alloy wheels. If the damage is
only small and on the inside of the rim, then we can repair
just that area rather than the full refurbishment.
Step 7
Preparing kerbed surface for polishing
The next step is selective machining to remove all kerb
damage from the surface of the wheel. If the damage is
very deep it can be filled with aluminium and welded to
return it to its original shape.
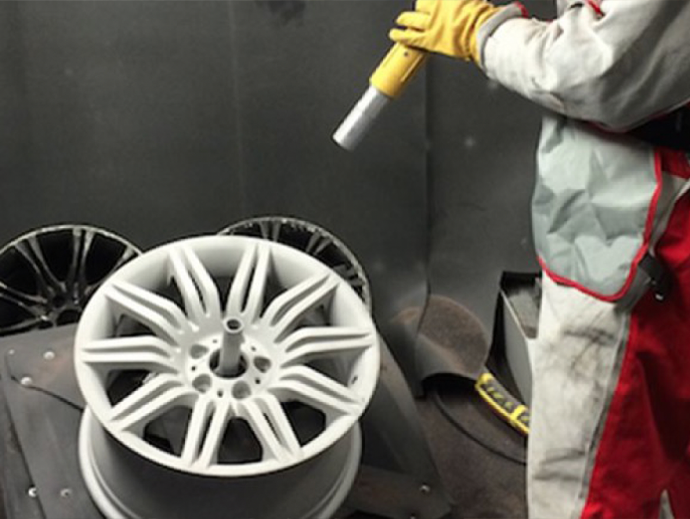
Step 8
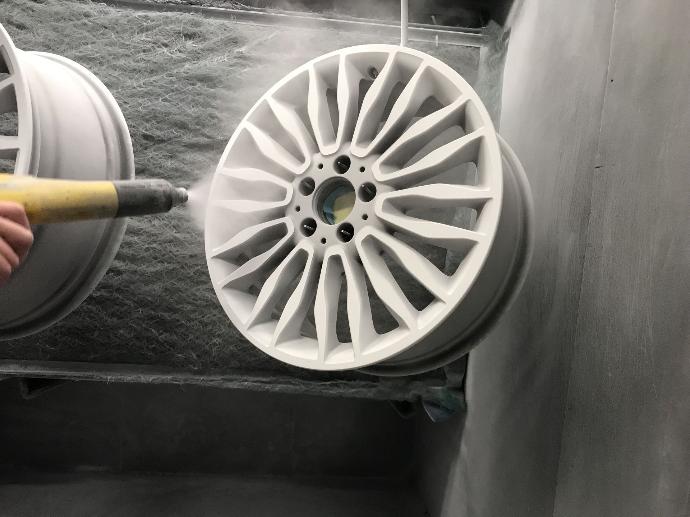
Ceramic polishing
The wheel is then placed in a special polishing machine.
This process can take from a few hours to a few days
depending on how good or bad the alloy wheel surface is.
Step 9
Applying powder coat lacquer
A final clear coat is applied to protect the surface
from corrosion.
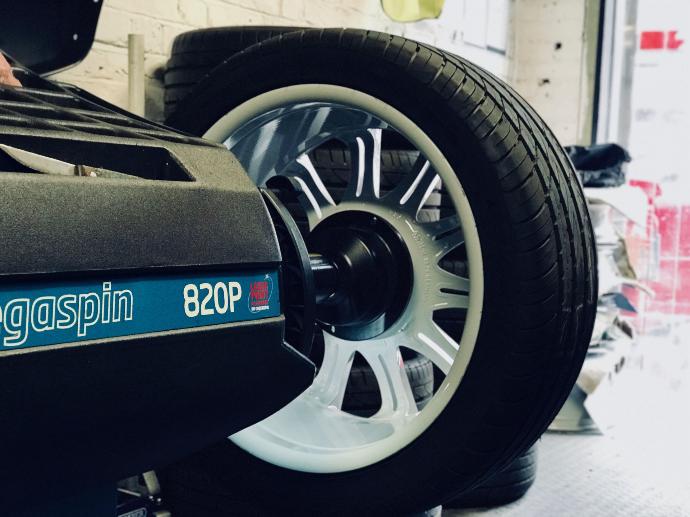
Step 10
Tyre fitting & balancing
Once the wheel is repaired we fit new rubber valves
(if the wheels had metal valves or sensors these are
re-fitted as before). The tyre is then refitted to the
wheel and balanced using weights stuck to the inside
of the wheel.
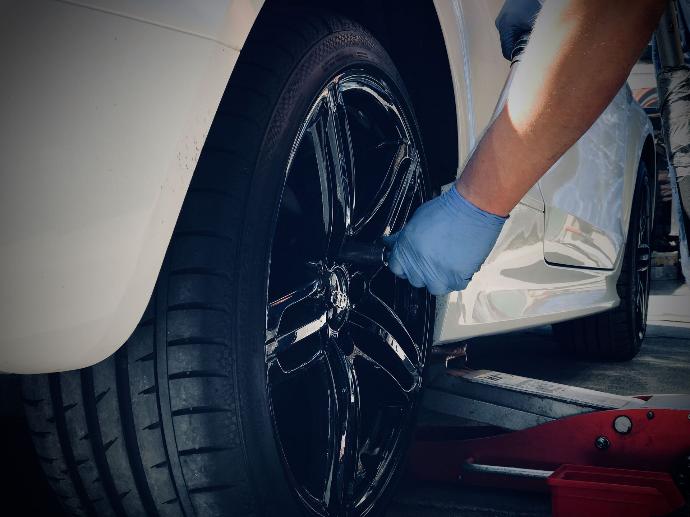
Step 11
Fitting wheels to the car
The wheels are fitted to the car and final checks are
carried out including tyre pressure and wheel bolt
torque and tightening.